
How to Prepare Your Home for Waterproofing?
Waterproofing begins long before the first coat of sealant. Learn how to properly prepare your home for waterproofing with this expert checklist.
By:
The Good Home Daily
Posted on September 11, 2025
So, you finally decided to waterproof your home. That’s great! But did you know that the process actually begins long before the first coat of sealant? Preparing your home for waterproofing is the step that makes everything else work.
Whether you want to take on a DIY project or get help from a professional, the preparation phase is critical. Skipping it often leads to leaks, peeling, and repairs that cost far more down the line.
In this article, you’ll discover an essential waterproofing checklist for your home, along with practical steps you can follow for a smoother, more successful project.
Why Proper Home Preparation Matters in Waterproofing
The success of any waterproofing system depends on how well the surface is prepared. According to industry experts, a waterproofing membrane is only as reliable as the surface it adheres to. Even the most advanced system can fail prematurely without proper preparation.
One major reason is adhesion. Membranes and coatings bond best to clean, stable surfaces. If the surface is dusty, oily, or cracked, the protective layer is more likely to peel or weaken over time.
Preparation also uncovers the true source of water issues. What looks like seepage may actually stem from poor drainage, clogged gutters, or hidden leaks. Addressing these early keeps the same problems from coming back.
Finally, preparation saves money. Though it may feel like an extra step, it reduces the risk of rework, callbacks, and costly repairs. In the long run, it is the smarter and more cost-effective choice.
Waterproofing Preparation Checklist for Your Home
Before you grab a brush or open a bucket of sealant, take a step back. Waterproofing works best when your home is properly prepped.
If you want your project to last, here are the essential steps to prepare your home for waterproofing:
1. Clear Your Area
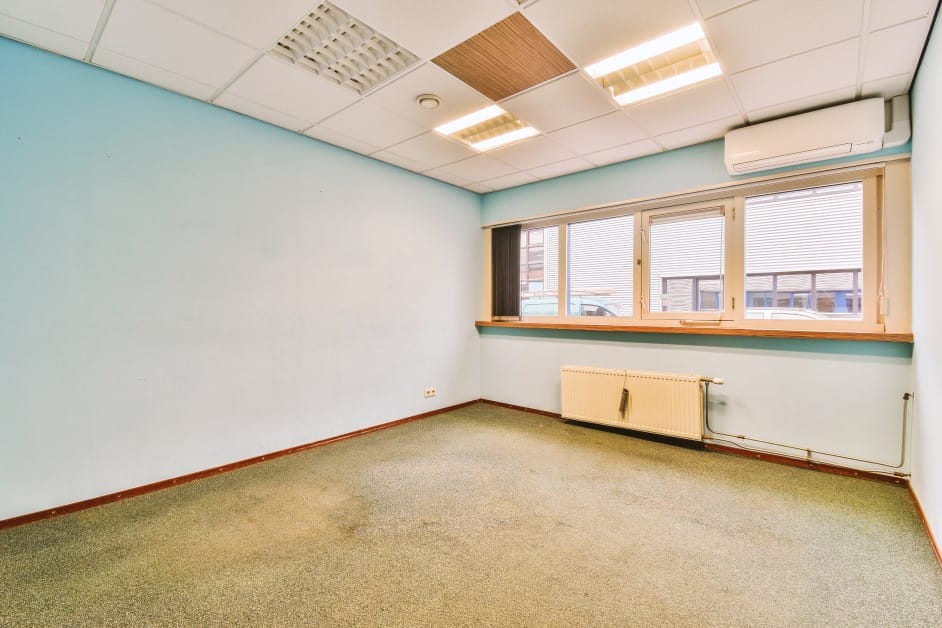
Start by removing everything from the space where the waterproofing will take place. This usually means basements, bathrooms, or outdoor spots that deal with the most moisture. If you are not sure which spaces need it the most, check out our guide on 5 Must-Waterproof Spots.
Empty the area or any rooms adjacent to exterior walls being treated.
Move furniture, storage boxes, and personal belongings to a safe, dry location. Waterproofing work often involves dust, debris, and temporary moisture exposure that can damage your possessions.
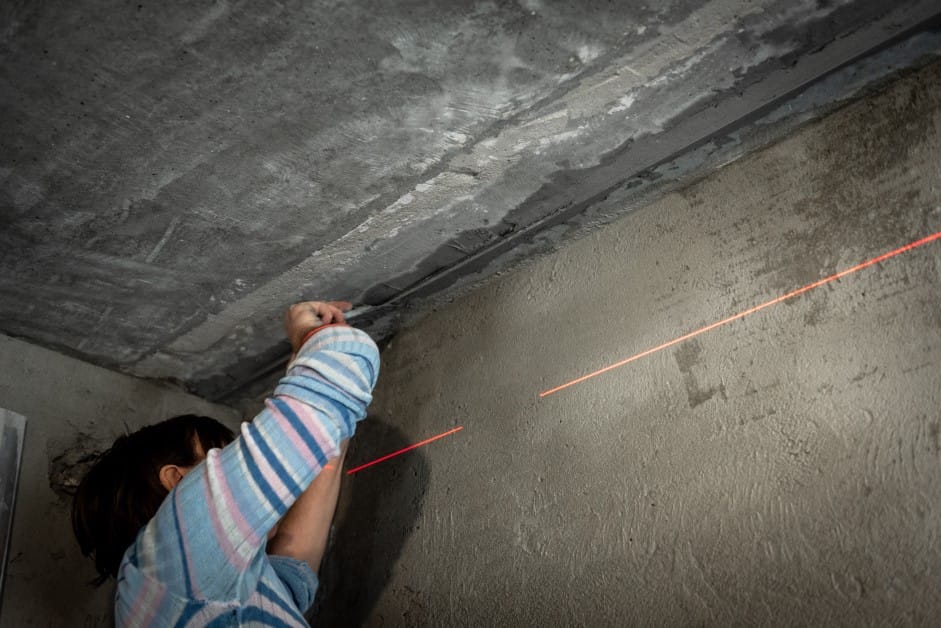
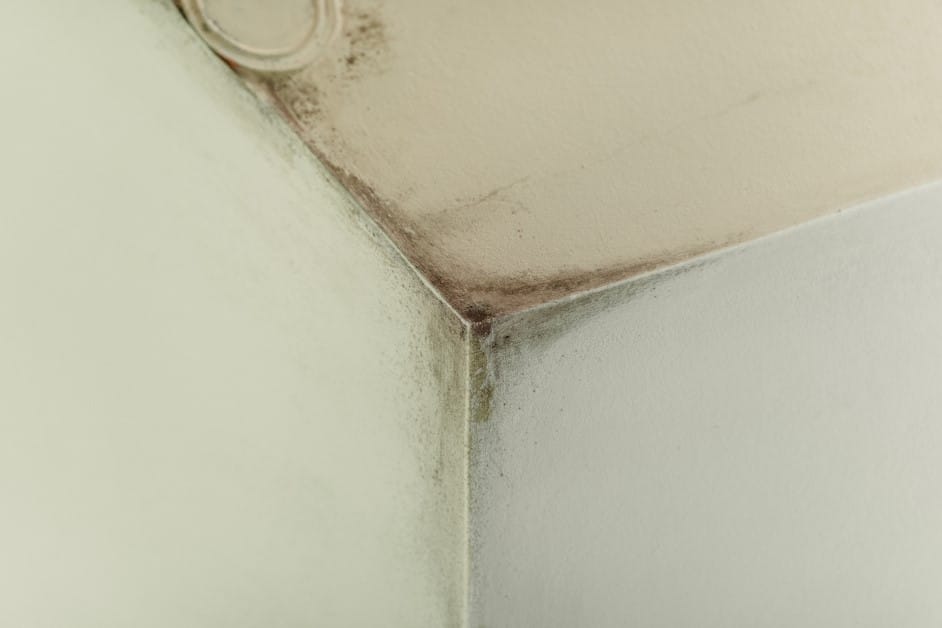
2. Inspect for Cracks and Surface Damage

Once the area is cleared, do a quick walk-around. Look closely at your walls, floors, and ceilings for any cracks, holes, or weak spots.
These little flaws can grow into big problems if they are not fixed before waterproofing. In fact, one study found that cracks are the major factor contributing to waterproofing failure, followed by deteriorated coatings, honeycombed concrete, and problems at construction joints. Catching them early makes the rest of the process far more effective.
3. Document the Current Condition
Include this in your waterproofing preparation checklist if you’re working with a contractor. Walk through your home with a camera and notebook. Document existing cracks, water stains, or structural issues you notice.
This documentation helps your contractors understand your home’s specific challenges and protects you if new issues arise during the work.
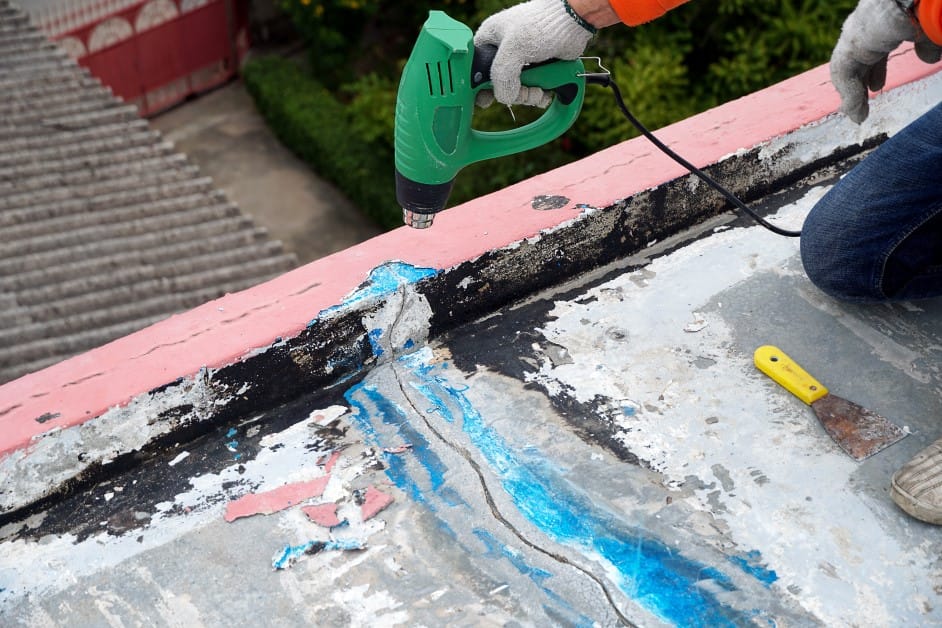
4. Clean and Prime the Surface
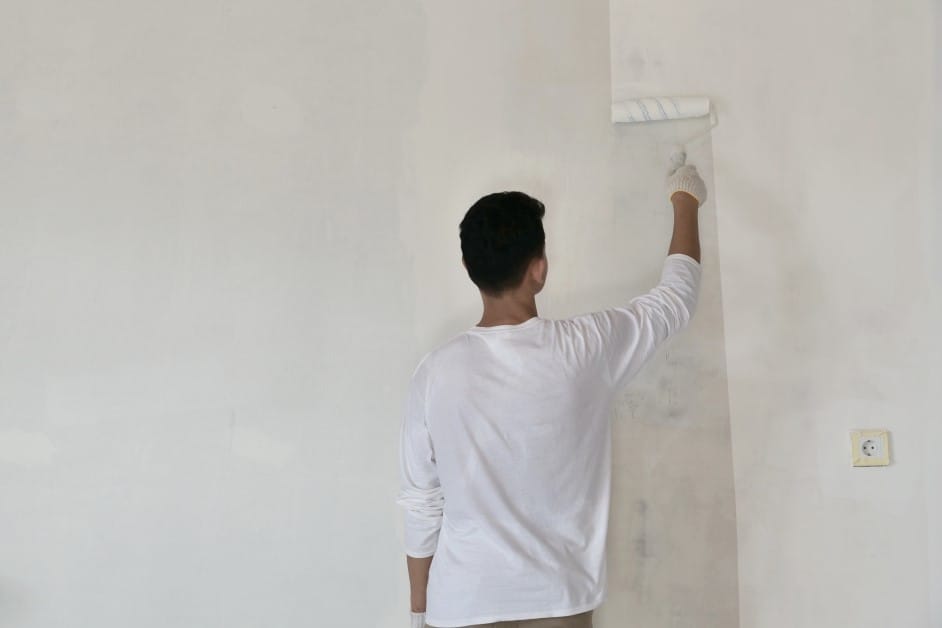
Cleaning and priming are essential steps before waterproofing. Clean surfaces allow waterproofing materials to bond properly with your foundation walls. Sweep away dust, scrub off oil or grease, and clear out debris so nothing interferes with adhesion.
Once clean, apply a primer that matches your substrate, whether concrete, metal, or wood. Don’t skip this step to avoid peeling, bubbling, or weak adhesion that shortens the life of your waterproofing.
5. Assess Moisture Levels
If your walls or floors already feel damp, waterproofing might not hold as well. If this is the case, things might be a bit complicated and require expert help.
Use a moisture meter, or ask a professional to test it for you. If the readings are high, you may be dealing with deeper issues, like hidden leaks or groundwater problems.
Catching these early helps you choose the right treatment before sealing, ensuring your waterproofing lasts.
6. Ensure Proper Drainage
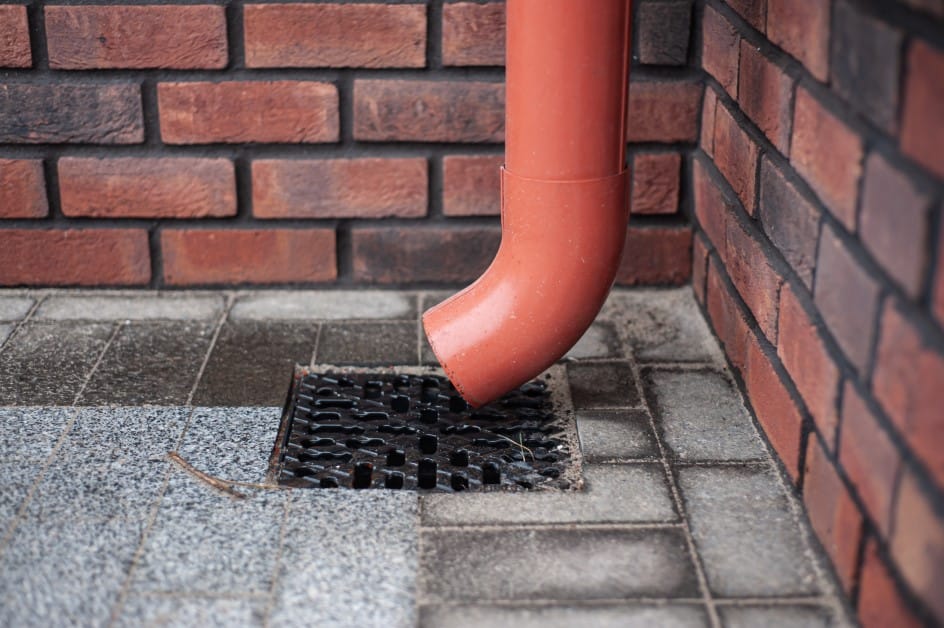
Waterproofing will not do its job if water is allowed to sit around your home. Always make sure water flows away from the foundation instead of toward it.
Keep your gutters and downspouts clean so they can direct rainwater where it should go. Take a look at your yard’s slope as well. Ground that tilts toward your house can easily channel water straight to the foundation.
According to the Revised National Plumbing Code of The Philippines, the minimum slope for sewer lines at 2%. That means for every 1 meter of horizontal run, the pipe should drop 2 centimeters. -This slope ensures gravity-assisted flow, preventing stagnation and backflow
This is especially critical in bathrooms, kitchens, and laundry areas, where low-flow fixtures can be prone to clogging without proper pitch.
Final Checklist Before You Start Waterproofing
Treat this pre-waterproofing checklist as your safety net. It may feel like an extra task, but the way you prepare can directly affect the success of your project.
Also, don’t rush the process, even if you’re working with a contractor. Begin your prep work at least a few days before the actual waterproofing date
Take the time to prepare your home for waterproofing the right way, and you’ll save yourself from leaks, stress, and costly repairs down the line.